
Launch Your Brand & eCommerce Store in 7 Days
Get the playbook and resources
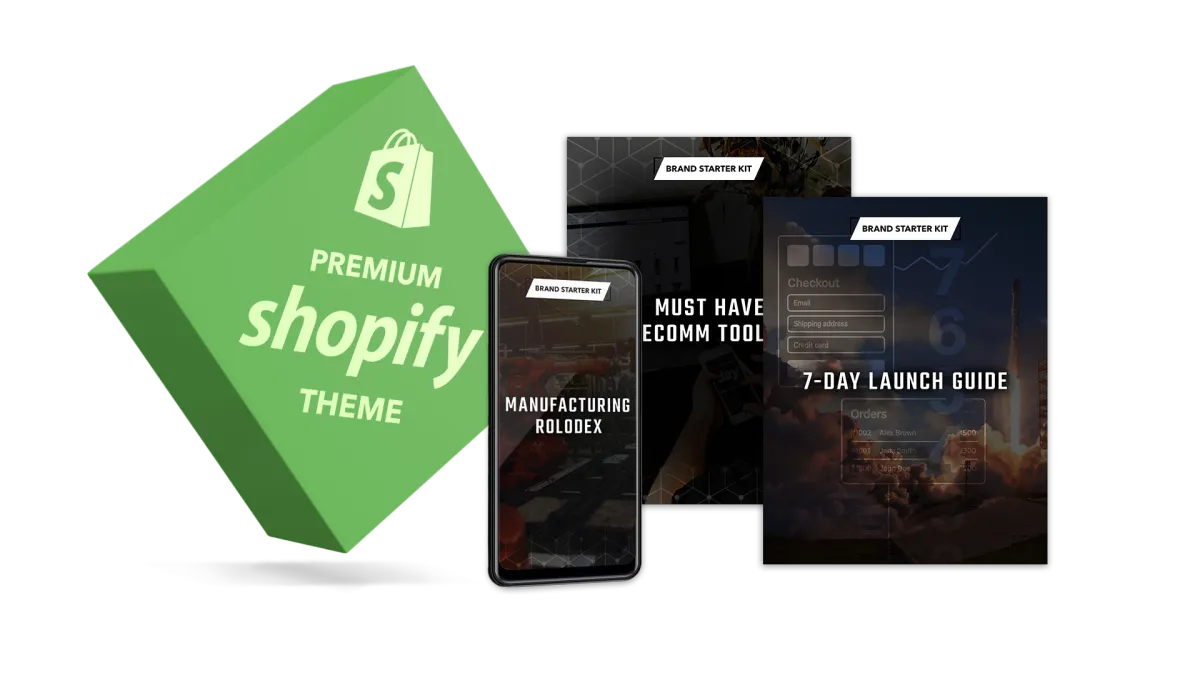
Get the free “7-Day Viral Brand Starter Kit™”
With Tools Trusted by 60,000 Creators
How this works
We have collaborated with top suppliers and eComm resources to bring you a kit that walks you through launching in days, not MONTHS.

Custom Shopify eCommerce themes

Plug & play fulfillment and manufacturing partners

PDFs & Guides to walk you through your first brand launch

Plus exclusive discounts to the key tools you'll need to grow your brand!
You've got a vision for your clothing brand — but you have scattered ideas, and no clear path forward.
You're tired of creating generic designs that don't stand out
You've spent hours on YouTube and Reddit... still no direction
And you know you're not launching the way real brands do

You're not lazy. You're just missing a real system.
That's where the
7-Day Viral Brand Starter Kit™ comes in.
You're not lazy. You're just missing a real system.
That's where the
7-Day Viral Brand Starter Kit™ comes in.

Here's what you get:
7-Day Viral Brand Starter Kit™
The #1 starter kit for new and growing brands.

All optimized for first-time founders and stuck creatives.
No fluff. No jargon. Just what works.
Free Shopify Themes — tailored for clothing brands that want a clean, credible, pro look from Day 1
The 7-Day Launch Checklist — step-by-step guide to launch your store, brand, and product line (the right way)
Ready-to-Use Brand Worksheets — set your direction, and lock in your designs
Exclusive Creator Discounts — save on the tools you'll actually need to grow (apps, design tools, suppliers)
Plug-and-Play Resources — US manufacturer lists, print-on-demand connections, and traffic-starter checklists
Total value: $297
FREE

About Us
John Santos
Our mission is to... lorem ipsum dolor sit amet, consectetur adipiscing elit. Aenean hendrerit rhoncus magna quis euismod. Nulla facilisi. Suspendisse tincidunt tellus laoreet magna ullamcorper tempor.
Suspendisse ante arcu, cursus eget varius et, laoreet nec neque. Ut turpis erat, vestibulum blandit nunc convallis, ultrices porta felis.
Tailored Investment Solutions
Expertise You Can Trust
20+
Years Experience
Over 60,000 people have downloaded our Free Guides

The free resources this team shares is unbelievable. Thank you for helping me launch my brand the right way.
— Reese
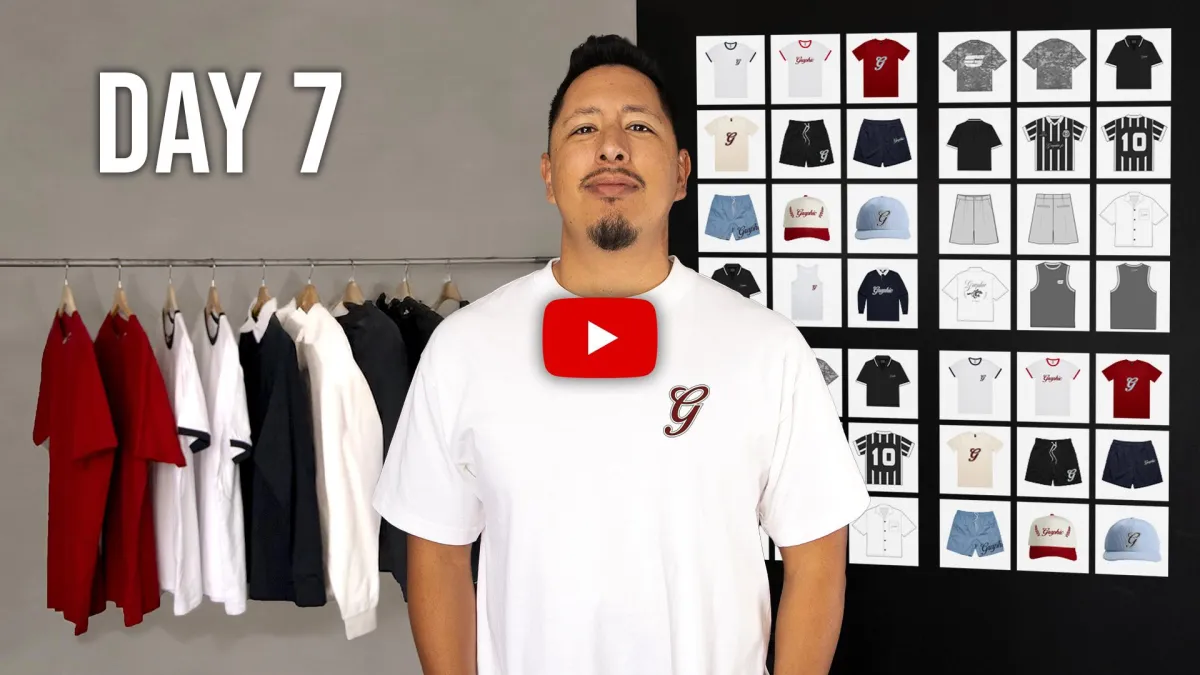
I Built a FAKE Luxury Brand With $100 In 7 Days
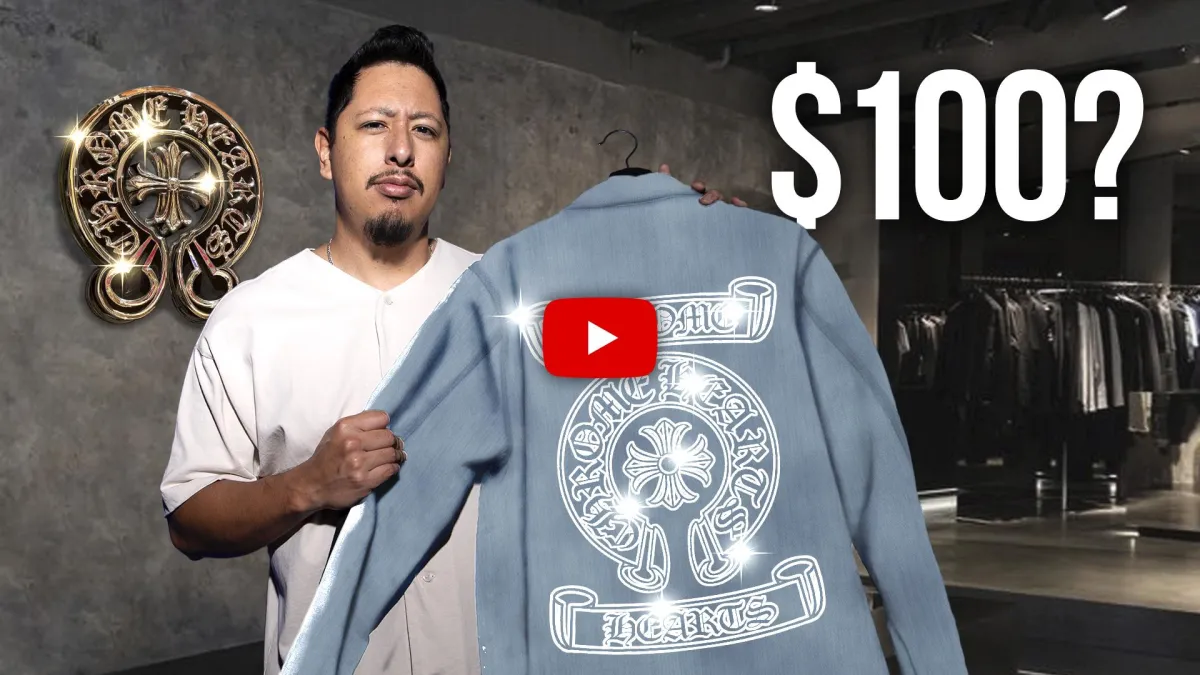
Easy Way To Start A Luxury Clothing Brand Under $100 | Chrome Heart Quality
He Turned $150 Into A $100M Business
You Don't need another blog post. You need a shortcut.
Download the 7-Day Viral Brand Starter Kit™ and finally bring your store to life
Takes 60 seconds. Zero cost. Just momentum.

Built by brand owners who've helped launch 60,000+ stores

Used by creators across fashion, lifestyle, and streetwear

100% beginner-friendly. No tech skills needed.
Ready to get started?
Frequently Asked Questions
What types of investment services do you offer?
We offer a range of investment services, including portfolio management, retirement planning, wealth preservation, and personalized financial strategies tailored to your unique goals.
How do you determine the best investment strategy for me?
We begin by assessing your financial goals, risk tolerance, and time horizon. Based on this, we create a customized investment plan designed to maximize returns while minimizing risk.
What is the minimum amount required to start investing with your firm?
Our minimum investment requirements vary depending on the services you choose. We offer flexible options to accommodate different levels of investment, from individuals to high-net-worth clients.
How often will I receive updates on my investment performance?
We provide regular reports on your portfolio’s performance, and our advisors are always available to discuss your investments. You can also access real-time updates through our online platform.

Where creators become founders and founders become legends.
Useful Links
Testimonials
FAQs
Blog